Showing posts with label snitzels. Show all posts

Saturday, April 30, 2011

CAMP HUSTON RETREAT

I packed up all my sewing stuff - my machine and tools, packed up the stuff for my Snitzels and my Connecticut Winter Quilt and headed north to spend a few days with the Snitzel gals at Camp Huston.

There's a large room where everyone set up their 'stuff' and set about working on Snitzels, quilts and whatever, long into the night (and in my case, early in the morning).


I mostly worked on my quilt - put a lot of hours in.

Everyone spread out their stuff and got busy working

There were even demos

My space over by the window

I couldn't sit and sew all day, so I went out for walks in the beautiful surrounding woods (rain forest).


April 27 - piecing 1 hour


April 28 - piecing 2.5 hours
April 28 - piecing 2.25 hours
April 28 - piecing 2  hours


April 29 - piecing 1 hour
April 29 - piecing 6.5 hours
April 29 - piecing 1 hour

Oh, my aching butt...


Total hours, so far - 32.25 hours (still making lots of little blocks)


Monday, November 22, 2010

EXCITED TO WORK


After meeting with my wonderfully inspirational new friends, who gave me input and suggestions for my new project, I was really excited to get back to working on it.

After a little head-scratching about the logistics of what I wanted to do, I made some decisions, and started laying it all out.  I put it on a piece of thin batting over heavy Pellon, spot-gluing it together.

I went against the 'rule' of starting the quilting in the middle and started on the edges, so I wouldn't have too much in the keyhole.  I was worried the whole thing would fall apart before I got it stitched down!

As you can see, I added a yellow border.  I tried purple, but the yellow was definitely better.  My group had suggested just leaving it uneven.  But, being so (I'm not sure of which word to use here!) rigid, traditional, precise, stuck-in-a-rut, I thought it looked really good 'squared-up'.

I like it.  But, I don't know where to go from here.  When is my group meeting up again anyway? 

Sunday, November 21, 2010

SUNDAY CLASS

Our teacher, Jean Mills, read to us from Tim McCreight's little book Design Language.


It's a great little book, I've just ordered it from Amazon.  It explains basic design elements with great definitions in easy-to-understand language and analogies, with illustrations, too!  


And as for my show-n-tell, they said they really liked it.  We discussed which direction to take it from here, and I got some great ideas about how to finish it.  It was nice to hear that they liked my use of my hand-dyed fabrics and especially liked the colors.  I'm excited to get to work on it.

We don't have another class until January, so I've got quite a bit of time to get to the homework.  We are thinking about 'negative space'.  

Thursday, November 11, 2010

DAREDEVIL ARMS

I made a quick thumbnail sketch of one of Darrell's chairs.  Well, the arm part anyway. I stylized it and came up with a little sketch I liked:


I made a bunch of copies, enlarging some and started moving them around and arranging them:


Then I proceeded to cut up fabric and sewing the pieces together.  I used just my hand-dyed fabrics.  Most of them are dyed using items from nature.  You can see more about that on my other blog.


Here's how it looks so far.  


Tuesday, September 14, 2010

RUST CONTINUED

I quilted the Rust Experiment today.  I wanted to just quilt around the 'rust' circles made by the metal disks.  But I don't think I've ever quilted or sewn 'perfect' circles.  I've seen a device that attaches to your machine that holds the fabric in place for sewing perfect circles.  Since I don't have one, and don't even know where to get one, I came up with a simple solution - a pin inserted through the center of the circle into my sewing machine's table.  Good thing it's wood - huh?

After I got the initial circles quilted around each of the rust circles I felt it needed more quilting.  So, I did the easiest thing and just echo-quilted around the circles.


Usually, I put binding around the outside to finish a quilt.  But the colors on the outside of this piece of fabric I used as the background is very interesting!  It has picked up stray dyes somewhere, making these interesting changes from blue to green to yellow.  I'm not sure how I'll finish it now.

Friday, September 03, 2010

RUST EXPERIMENT

Being bored, I started cutting out rectangles from the group of fabrics I recently sun-dyed.  (A great group of fabrics, I really like the colors - and more than that - I love the fabric.  I need to find a source for it.)
I arranged the rectangles on a piece of fabric I had made in the recent workshop at Pratt.  It was one I made, with sad results, using a paper litho-plate technique.  It works well as a background.

I've taken numerous design classes and workshops.  I want there to be a 'formula', you know?  But, I'm realizing, there just isn't.  I can't say what makes a design work, for the most part.  But I can 'feel' when it does.  I just moved the squares around and around, until they 'felt' right.  I would take them off, and put them back and realized there are endless possibilities that work just as well as the next.  Hmmmm.


After I was tired of this game, I stopped at the latest arrangement.  Then I stitched around them to secure them to the background.

Then I dampened it and arranged some metal discs on it.  I wanted rusty circles!  It took two days until I was tired of watching it rust.  I had to re-wet under the discs the next day.  I removed the aggressive rusters and moved some of them to the lazy ones positions.


Here it is now.  I think I want to quilt around the rust circles.


Monday, August 30, 2010

ASHTRAY - DAY SIX

I got some thread work done on the 'background'.  I particularly wanted to lighten it up under the chair because there isn't much value change.  I accomplished this by putting some free-motion thread work in a lighter shade of gray over that area.  I'm still not sure it's light enough, but the quilting, if done in a lighter shade will lighten it up even more.

Here you see it pinned and ready for quilting.  This is the part that makes me nervous!


Sunday, August 22, 2010

ACCEPTED - REJECTED


I took the same two paintings that I took to Renton River Days and submitted them to the Western Washington Fair's Fine Art Competition.
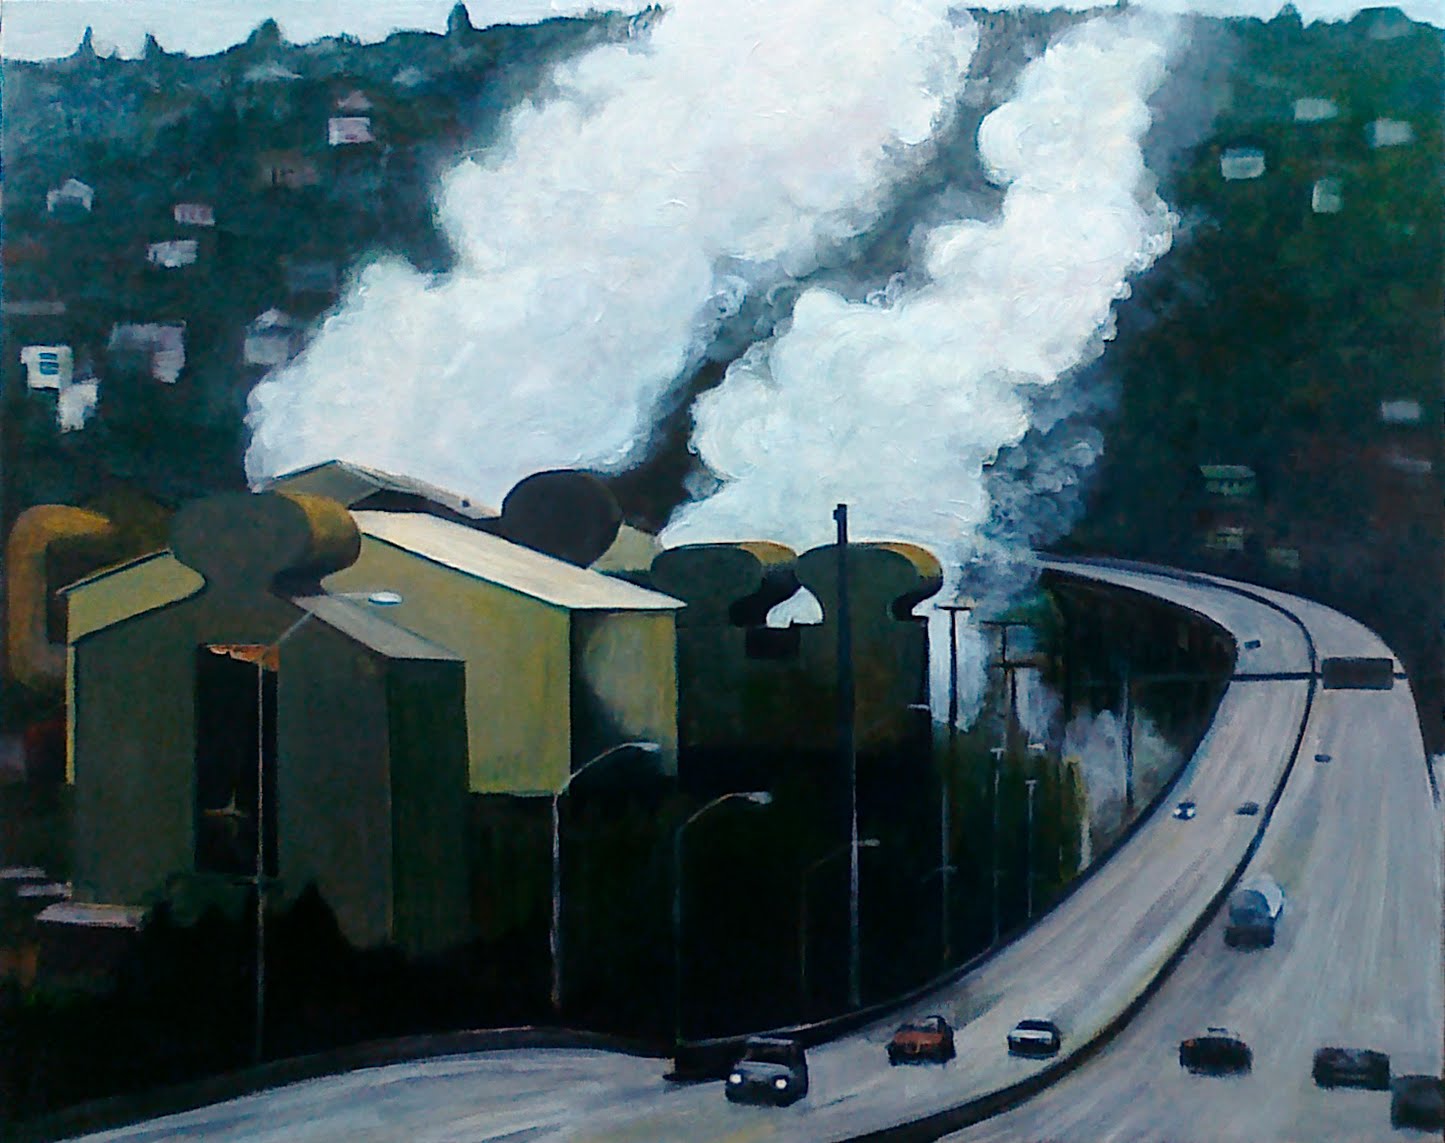
As you might recall, the snitzel 'Lines' won a Juror's Award, and my favorite 'Steel Plant' (above) won bupkis.
I got a little envelope in the mail today from the WW Fair.  They accepted 'Steel Plant' into the show, but they cannot abide 'Lines'.  They want me to come and pick it up where it now resides with the rest of the rejects.
Bummer...that means I need to take time off work this week, too, to pick it up.  And, it means an extra trip to Puyallup.


I wish the jurors and judges would let artists know what they like and don't like.  It's so baffling!
Just proves, it's all so subjective and it doesn't really mean a thing.

Wednesday, August 18, 2010

ASHTRAY - DAY FIVE


I finally got the actual ashtray on it today! It took me hours to get it just right.  I'm glad I waited to do it last.  I've learned quite a bit in this whole process.  It's a long way from being done, but it's looking really good so far.  
Next I will baste it to batting and a back and start on the quilting.  That will lighten up the 'ground'  (she says hopefully).  That's the plan, anyway.
Oh, and yes, I will eventually square it up, for you non-quilters, but not until it's quilted.

Friday, July 23, 2010

SNITZEL WON AWARD AT RENTON RIVER DAYS


I usually try to put something into the Renton Annual Art Show.  This year I had two distinctly different entries because along with my usual industrial type painting I entered one of my Snitzels.  

I was pleasantly surprised to find an invitation in this Tuesday's mail, with complimentary tickets, to attend the Preview Party on Thursday night because I had won a prize.   It didn't say what prize or which piece had won the award.


Last night I was delighted to see that the Snitzel was the one that garnered the attention.  It is so much different than what I usually do.  And different from much of the other art in the show.  This piece is a fabric collage, more or less.  This is one that I have been posting about it's progress on this blog.

It won the Lucille Culliton Award of $100.  Cool.

We have fun at the Art Preview.  They serve free catered food and wine.  I head straight for the wine!  Then we look at the art until they serve the dessert.  This year it was Tiramisu. 
I have only one complaint (if anyone is listening) - I wish it started earlier in the evening.  What's with waiting until 8pm to even begin?  Maybe we could start at 7pm?  That would be nice.  Thank you very much.

Monday, March 08, 2010

SNITZEL CHANGE

In my last post I showed how the 'Lines' Snitzel looked after I had attached the pieces to the background using acrylic medium with GAC 900 added.  It wasn't dry yet so the colors looked completely different.  I wasn't sure it would dry looking like that, but fortunately it didn't.  When the acrylic had dried and I ironed it to set it, the colors were very close to the original look.

Here's the first photo I took of it:


And here is the photo I took after I added more lines around the eye on the left and adhered the pieces to the background.  They are more or less permanently affixed now:
The colors are very similar.  I think the only difference is in the lighting or exposure of the different photos.

I really think adding the additional lines to the left eye helps it alot.  I'm not sure where I'm going with it next.  I'm still letting it simmer.

Thursday, March 04, 2010

SNITZEL FIXIN'

I needed to make some changes to a couple of my Snitzels - 

Yesterday I painted the green fabric, that was too bluish, with an overall wash of Cad Yellow Acrylic with GAC900 added, to the top one.  The bottom one  is how it looks today, with the lines zigzagged on.


It's definitely an improvement.


The next one I worked on is the Eyes.  I thought it needed lines added to the 'eye' on the left.  And as an experiment to see how it comes out I mixed some Matte Medium with a little water and some GAC900 to use as an adhesive to hold the batiks onto the canvas backing.  I needed to put medium on the back of the fabric also when it started to bubble up.  This made the black background show through, especially on the 'flesh' colored fabric.  I'm hoping it won't be so obvious when it completely dries.  I won't know until tomorrow.


The one on the top is the way it looked before...the one on the bottom is after I changed it.  I do like the added lines to the 'eye', but I'm worried about losing the fabric color, I think some of it is the lighting I took the pictures under, too.  I still might be able to fix it.  Remember - this is an experiment.  It's a learning process!


Saturday, February 20, 2010

EXPERIMENTING WITH LINE

I thinned down some black acrylic paint and had some fun making 'lines'.


Looking around the studio, I thought there was not much to choose from, but looking at the results, I think the experiment was very successful.  I made a variety of lines using just whatever was available.


I highly recommend you try this yourself!

Cellulose Sponge

My morning Starbucks drink straw.

I took a little strip of fabric and rolled it up and dobbed it in the paint, that's on the left.  In the middle, is the same fabric roll after I frayed it with an Exacto knife.  On the right, a cap off my acrylic paint tube.

A Hammer, the harder I hit the more interesting the mark.

A strip of Linoleum with a Jute backing.

Paint Brush.


A Phillips Screw Driver, the Drink Straw with a cut-tip, and a piece of String.


A Putty Knife.


A Screw (I like the little circles).


A Pointed Stick, Small Pallet Knife, Rubber Tip for Pastels.


A Rubber Finger-tip, a Fork.


A Stem on the left, and a Leaf.


My Valentine's Day Rose....


and then I cut the tip of the rose off, and dipped it in the paint and rubbed it on the paper.  You can kind of see the red on the paper.  Then I used it as a stamp.  

So much fun to be had with just the stuff on hand!

Thursday, February 18, 2010

A DAY OF SNITZELING


Here's my second line drawing Snitzel (yeah, I know, I said I'd do this one last!).  I went with this one because I had done the page of little colored drawings.  So, throwing dignity away I jumped right it.  I went to all the trouble to cut each piece out of freezer paper, then fold the seam allowance around to the back and iron it down.  My poor cooked fingers.
Afterward, I was thinking, why am I doing so much work!?  Especially on one I don't even like that much.  It also took way too much time, and I still have to sew it down.  I'm leaving it in this condition until it gets critiqued in this weekend's class.

And, on to the next one:

I've been thinking about this one a long time.  I had definite ideas.  I had a little piece of canvas left over.  I mixed up some black acrylic paint with GAC900, the fabric additive.  It dried overnight and then you have to iron it (or heat it) to set the acrylic into the fabric, making it pliable and sewable.

I gathered my solid-like Batiks that are light colored and set to work.


I realized this exercise is all about the LINE.  I think this one emphasizes the line.  At the moment, the pieces are just spot glued to the canvas.  I'm still thinking about which direction to take it from here.  I have several ideas.

Monday, February 15, 2010

SNITZELS - MORE FUN WITH COLOR

I've made progress on my Snitzel work this week.

I did some more colored-pencil work this past weekend on two of the other drawings.

I also finished up the Boots drawing in fabric.  It's funny, I spend all this time with the little color drawings as above, and I don't have the fabrics to make it in.  I need a trip to the fabric store.

Going with the fabrics closest to the color drawings (although, most all of my fabrics have 'patterns') I used Freezer Paper, cut out the shapes, and ironed the seam allowance around to the backside of the freezer paper, where it would stick it.  The original plan was to hand sew the pieces together.  Its been a long time since I did any applique, so I was a little rusty.  
Today, I took the remaining pieces to the sewing machine and zigzagged them together.  

Having fun.