Sunday, August 30, 2015

SETBACK ON THE BACKING

I thought I might take on the big project of pinning my Lexington quilt together today since the rains are coming (so they say).

I cleaned the floor in the studio and taped the back down.  I spread the huge kingsize batting down over it and smoothed it out.  Next, I started to put the top on and realized that the back was too small.

Aaargh!  I hate when that happens.

I stewed for a little while, then got out my box of leftovers from the quilt top and started cutting and piecing together little pieces.  This is so annoying because the rest of the back is made from large-sized pieces.  Adding these smaller pieces is going to look like exactly what it is:  trying to make it bigger because I didn't plan it very well.

Adding a pieced border to one side.
So, I added six inches to one side, laid it back down on the floor then put the top over it, just to be sure and it still wasn't big enough.  Actually I noticed that it was really close going the other direction, too.

I'm all out of usable fabrics leftover from the top...

So, the best thing to do is put a border all the way across both sides.  I didn't think I had any pieces big enough left of the solid greens I had hand dyed. So...

I looked through my stash and found a big piece of green print.  It's actually one of my favorite fabrics.  I've had it for a long time...now that I stop and think about it, I probably bought it in 1999 or 2000 and used a little bit for a project I remember making about that time.  This fabric is perfect.  The greens match great and the print is of small circular markings and that will mimic the pattern on the front of the quilt.

Cutting six inch strips to add to two of the sides.
I had to move Bentley off the ironing board onto my chair and then back again.
Ironing the newly added border.


Here it is with the two added borders - looks great.

Saturday, August 29, 2015

BINDING FOR 'MARCH INTO MAY' QUILT

After I finished up the quilting on the border and trimming it I started in on the binding.  Making binding is one of the funnest things to do, even though it's sort of a pain.  For a better how-to go to this post.


First, I iron then cut about 3/4 of a yard of my hand dyed purple leftovers.  Then I cut a 45 degree angle across it and sew the square sides together, then iron the seam open and mark 2-1/4" lines all across it.

Then I pin every line together, offset by one.  You end up with a big skewed tube when you sew it together.

Then I press open that seam, which is difficult, because it's a tube.

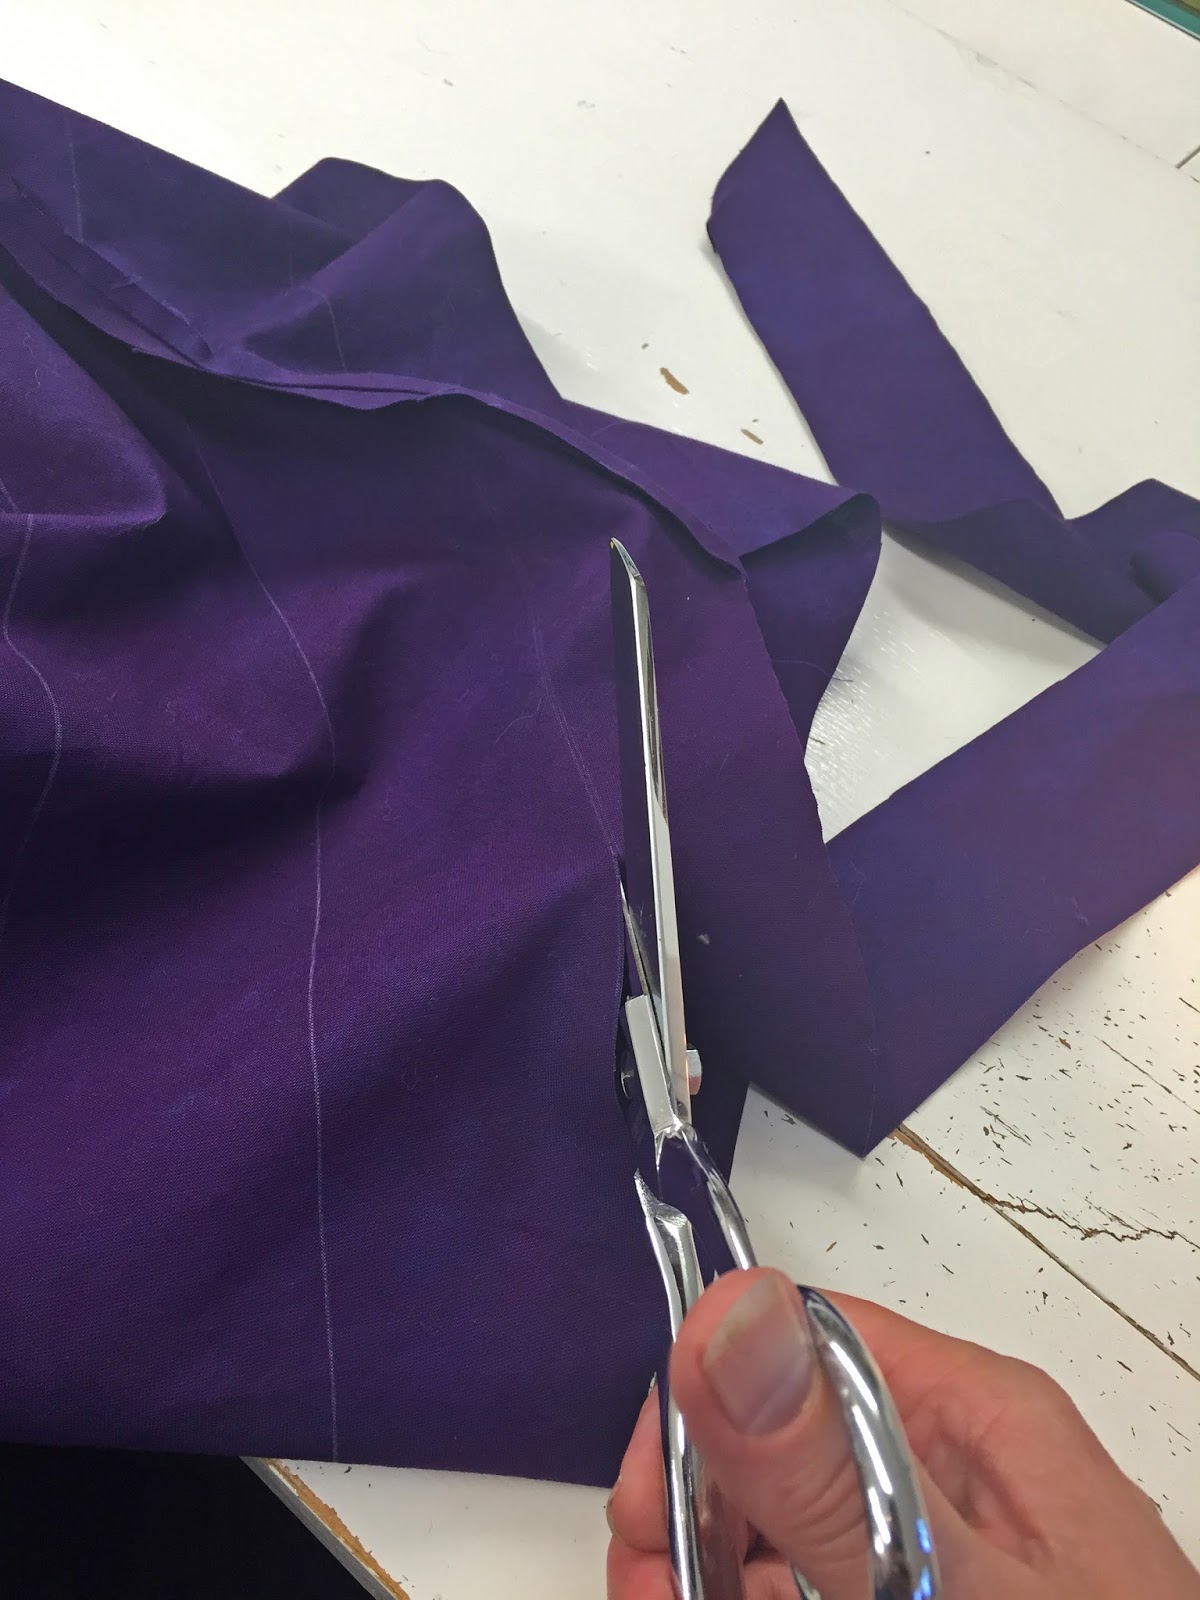
Then I cut along the line...

And you end up with a very long strip of bias tape.

Iron in half right sides together...


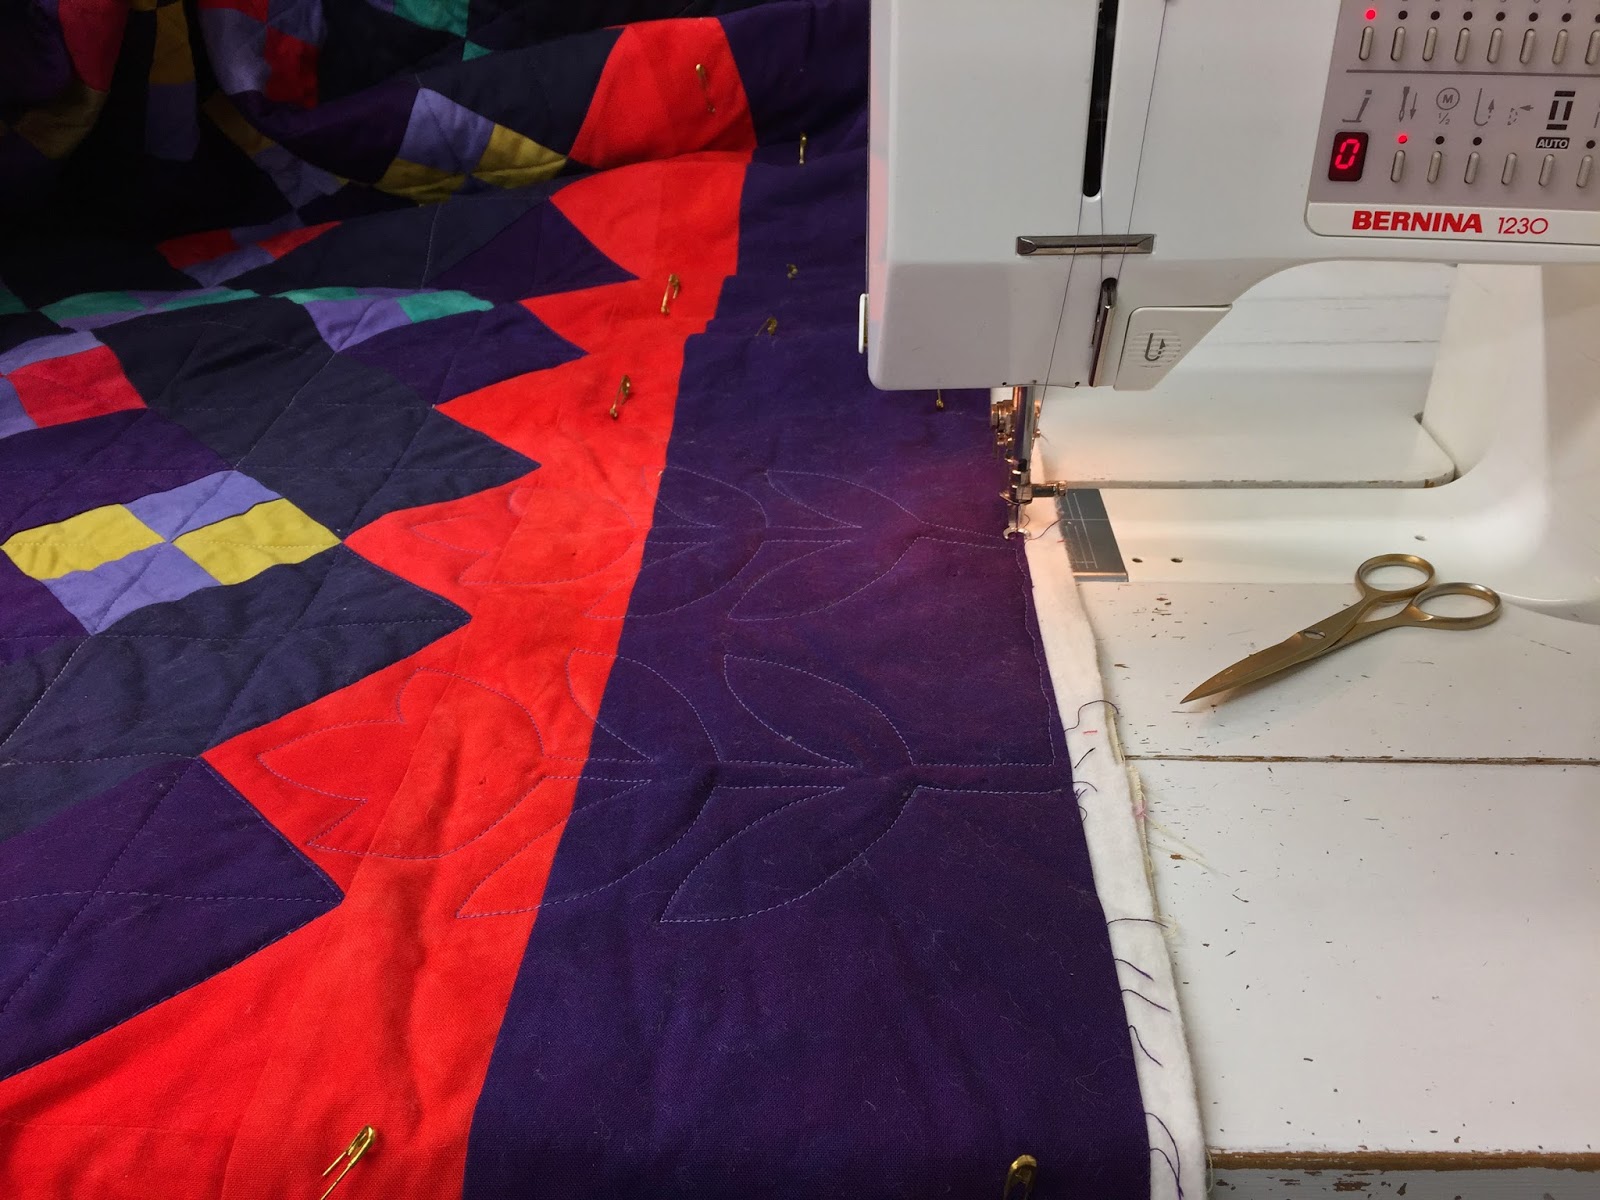
Then I throw the binding into the center of the quilt, line up the raw edges with the edge of the quilt I sew it down using a walking foot.  
 Now the binding's all sewn on, it's ready to be hand sewn down on the back and it will be considered completely finished!


Thursday, August 27, 2015

AIRSTREAM

I took my sketchbook on my walk today.


This is an ink drawing with watercolor.


Wednesday, August 26, 2015

FINISHED THE QUILTING

Yesterday I quilted the last two borders on this quilt and today I free-motion quilted in the corners and trimmed it.


About half way through the border quilting yesterday I ran out of the purple thread I was using on the top  (there's gold in the bobbin).  But, I had one more spool of that same thread...same maker, Gutterman, same kind, cotton, same number 02776....but this one is much lighter in color than the other one!
         Now that's annoying!
Can you see the lower quilting is lighter than the top?

Then...I had about 8" left of quilting to finish it, when I ran out of that spool!  Oh well, I just used some (not even Gutterman) that was close in color!


It's ready for binding.

Tuesday, August 18, 2015

BIRTHDAY GREETINGS

One of my cousins is having an important birthday.

I sent him this etegami:


It says (I hope) Happy Birthday.


Friday, August 14, 2015

WORKING ON A BORDER

It hasn't rained in Seattle all summer (pretty much), but it's raining today!

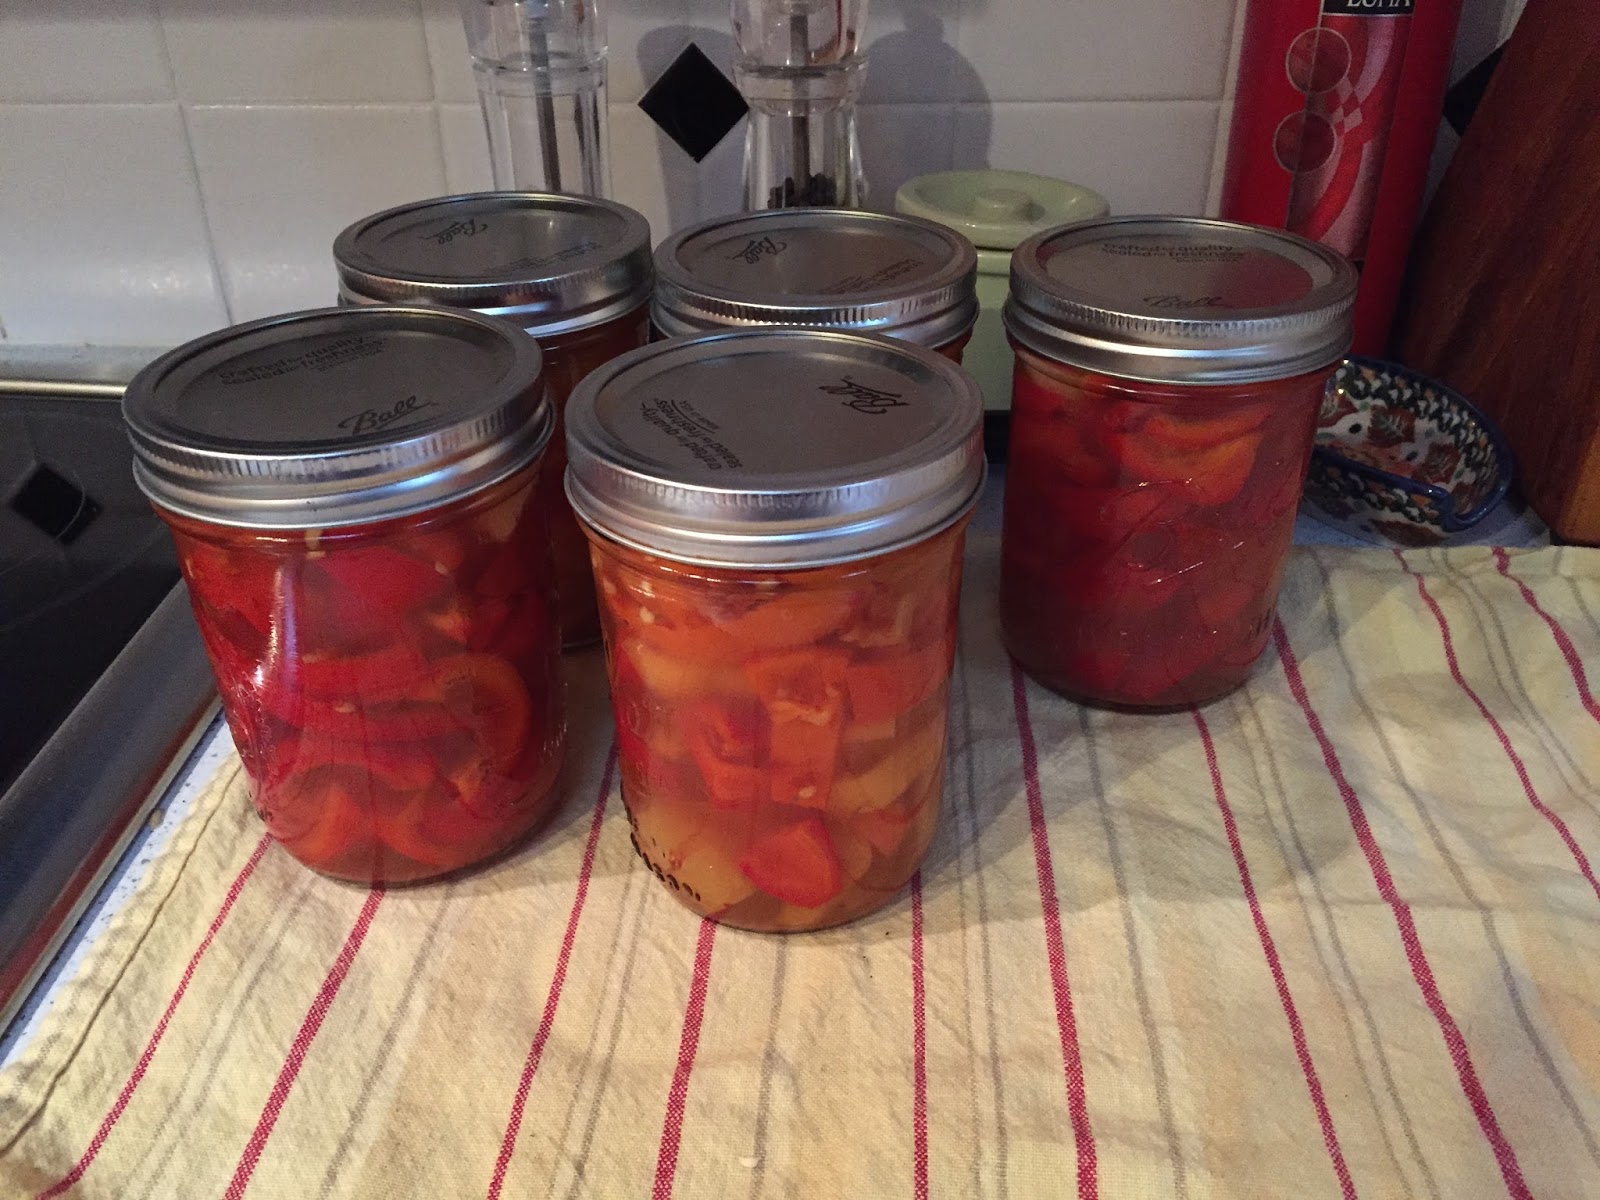
I put up some pickled peppers and then headed out to my studio.


I found an old project that doesn't need much to get finished.

My "March to May" quilt, started in March 2013.

It was partially quilted, just needing the borders done.  So, I started back on that today.

I got two sides done.  I'm doing a simple free-motion tulip design.

Still haven't figured out what to do in the corners, though.


Don't know when I'll be able to get back to finish the other two sides...


Sunday, August 09, 2015

FINISHED THE BACK

I finally finished the back for the Lexington quilt.  It's been months since I worked on it.


As you can see, it's too big for my design wall and curves down onto the floor.

Here's a close up of the theme fabric:


I only used the theme fabric on the back.

Friday, August 07, 2015

LEXINGTON LABEL

I actually worked a little bit more on the back for the Lexington quilt.

I made the label.


Wednesday, August 05, 2015

GOAT PLAY


Worked on the acrylic plate for my Year of the Goat New Year's card.

It's a little late.

Friday, July 17, 2015

Thursday, July 16, 2015

LEMONS


BIRDS IN THE POND!

The impetus for all this hard work in the backyard was to invite more birds in to use the pond for water and bathing.

A few days ago, the first bird I saw using the pond for a drink was a crow...not what I really had in mind.


But yesterday, as I sat on the back porch I saw a swarm of European Sparrows gather, looking longingly at the pond.  Eventually, one brave soul landed and hopped over to the edge and proceeded to bathe.  


Wednesday, July 15, 2015

FRIENDSHIP


CARVING FOR PEACE

I finally got around to carving an image into my piece of the Peace Puzzle Project.

I sat on the patio, under the umbrella, with the sound of the waterfall nearby.  It was very pleasant.


Now I just need to get it into the mail to Maria in Las Vegas.


Monday, July 13, 2015

BEFORE AND AFTER

Here are the before and after pictures of my backyard project:


Before
After


Before
After


Before
After


Before
After!


After


Friday, July 03, 2015

Wednesday, July 01, 2015

FINISHING THE PAVERS

The final step - putting 'Paver Lock' in the space between the pavers.  This will 'lock' them all together and prevent anything from growing up between them.

First you sweep the sand into all of the cracks and try to get it even and looking good.  It's a lot like doing tile grout - you sweep one direction and get it looking great, and then when you sweep the other direction it messes it all up.

It took me most of the day.  It was a slow process.

Once you get it looking the way you want then you 'mist' it all with a fine spray of water, getting enough on there to soak all the way down to the bottom.

Sweeping

Misting

Cooling

It was a very warm hot day.  My feet were tired and hot, so I soaked them in the pond afterward.  Excellent.

Tuesday, June 23, 2015

FINISHING THE EDGING

I got up early and headed to get stones for the edging, some plants and other stuff.

This was my first time to Marenakos Rock Center in Preston.  What a wonderful place!

They have all kinds of stones and rocks and things to see.

I walked around until I actually found something that I was looking for, it was perfect.

Then I headed home, stopping to buy some plants on the way.  I found a water lily with a lovely peachy-yellow flower.

I laid the rocks out on the walkway first to wash them and try to pre-fit them together.

Here's what it looks like after.  I'm going to add some plants in the empty spaces.


Sunday, June 21, 2015

THE WATER IS IN!

After Darrell's girls took us out for a Father's Day lunch, we got back to work on the pond.  There wasn't very much we needed to do, so it went fairly quickly.

Then it was time to put the water in.  I was so excited (and a little scared).

I used the spray nozzle to hose down all of the rocks and clean off any residual dust and dirt.  That was fun for a little while.   Then I put the hose in and went about doing other things.

I haven't turned the pump on yet because I want the dirt to settle first.  So I haven't been able to get a really good idea of how the waterfall will work.  I did put the hose up at the top and let the water run down, but it's not the same.  But, it looks pretty cool!


Starting to add the water and rinse off the rocks.

The hose is propped there, it's filling itself.

Hard to tell with such harsh light, but this is my view from where I sit on the deck - so nice.

Bentley is such a curious cat.  He had to taste the water about three times.

The plan is to finish it up on Tuesday.  I need to get a few more coping stones and start looking at plants.

So exciting!


Saturday, June 20, 2015

THE POND COMES TOGETHER

Darrell and I got started early on the putting the pond together.

First was to put in the underlayment pad and then the liner.

Next we started rinsing off the rocks and putting them in, one by one.


The skimmer and piping installed.


I feel like I'm being watched.

So curious...

Darrell washed the rocks before handing them to me.


Bentley was supervising


Almost done...

We didn't finish, but there's not a lot left to do.